Monday, May 19, 2014

A gift from a friend: HGBF 1/144 Crossbone Gundam Maoh Build/Review

Hey Builders, 
I'm back again with another more formal look at an HG kit. 


I fell in love with the Crossbone Maoh after the final episode of Gundam Build Fighters. When Bandai first released images of the kit, I was underwhelmed. Sure it had some cool weapons, but Crossbone never got an anime (yet) and I never built any of the MG kits before. 

All of that changed, in that glorious scene (cue electric guitar) when the Crossbone Gundam Maoh comes bursting to the rescue at the GBF equivalent of the Battle of A Baoa Qu. It gave me chills how epic it was. And from that moment on, I knew I wanted this kit. (GG Bandai. Take all my money).

I actually wasn't intending to get this kit for awhile, as such it wasn't listed in my Upcoming Kits list. Instead, my friend who came back from Japan, picked up a gift for me, the SD Sinanju and also this one for himself. We decided on a trade, where I would trade him my RG Freedom for his HG Crossbone Maoh. The difference didn't matter to me because he gave me the SD as a gift. 

For this review, I'm going to try to actually format my thoughts, so they're not so random, and hopefully more helpful. Let me know if you think I should add anything, or if I missed anything. Thanks!

  • General Overview
  • Parts
  • Weapons/Manipulators
  • Size/Comparison
  • Articulation
  • Color/Quality
  • Pros/Cons
  • Verdict
  • Additional Comments and Photos


Parts


The Crossbone Gundam Maoh comes with a lot of stickers, but none too difficult to put on. They are fairly essential to the kit itself, creating that shiny reflective blue/purple along the kit/backpack.


The kit itself does not come with a lot of runners. Yes, the runners go from A up to H with two saber runners, and the polycap runner, but as you can see, there are a few small runners. Runners C, D, E, and H are all small runners with only a few parts on each. This kit does not have a lot of parts to it, and can be built fairly quickly. 


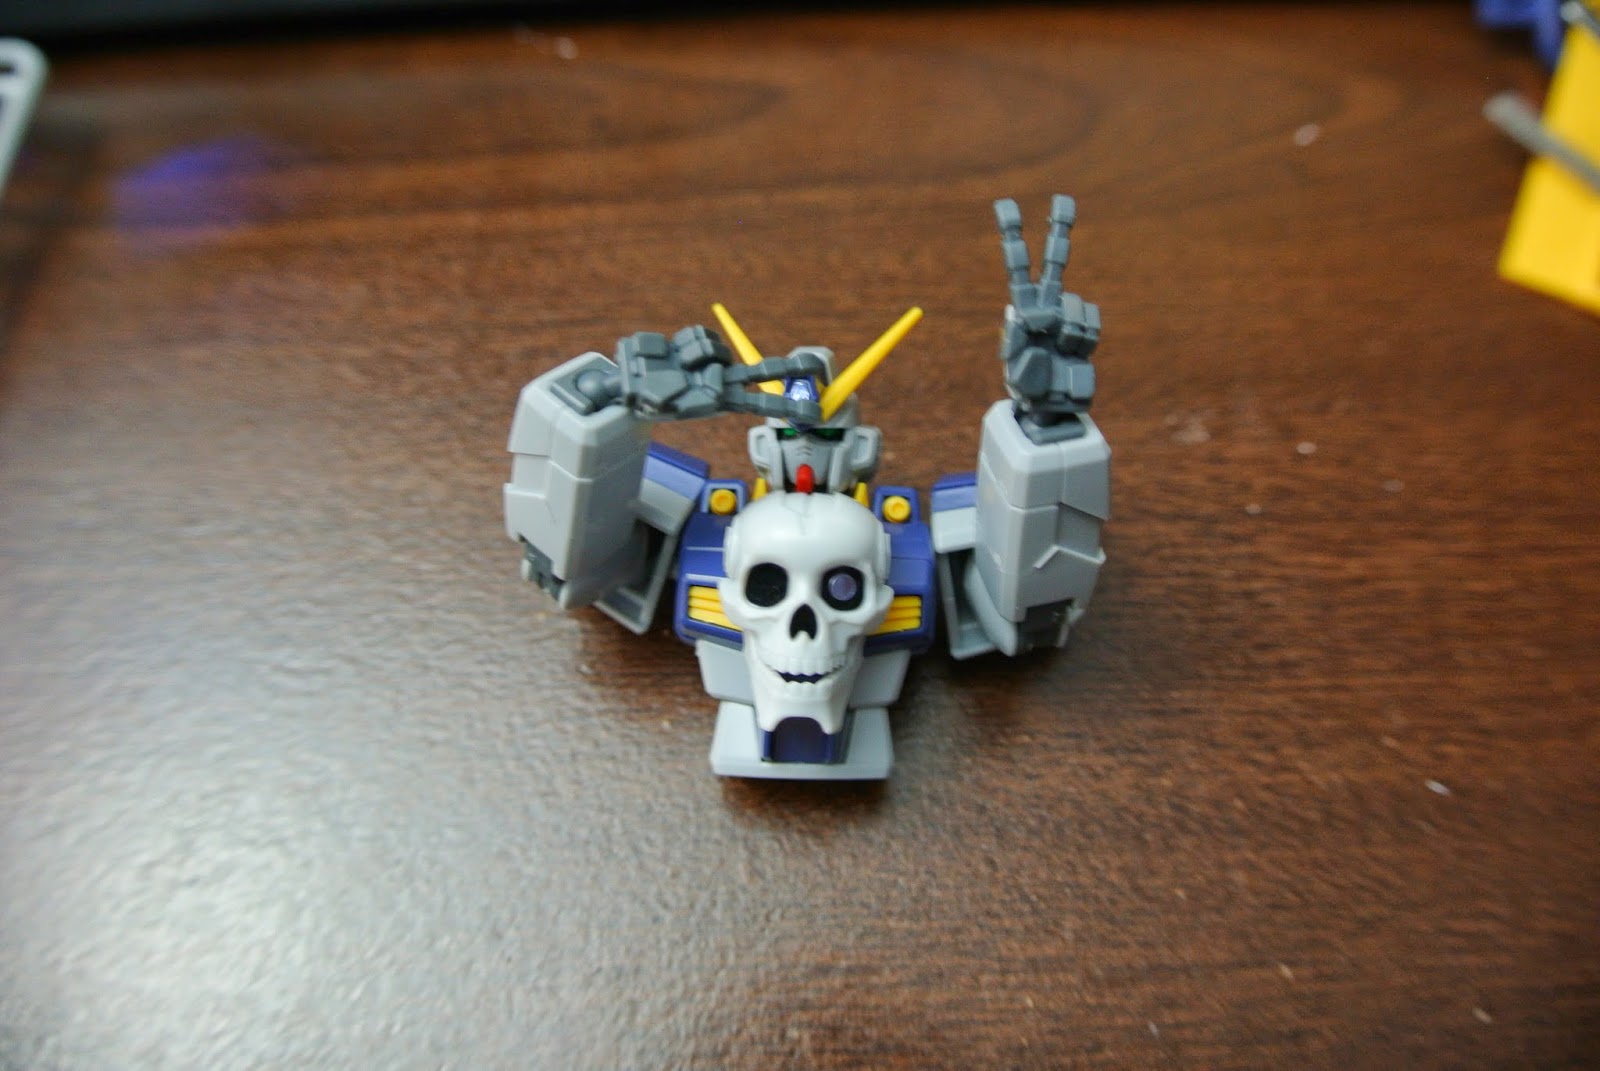
Here is one of the signature parts of the Crossbone Gundam Maoh, the huge Skull head that opens up to the chest cannon. As you can see, at this point I almost used all of the blue C runner and yellow D runner. 


And here is the upper body finished, and at this point of the build, I could basically throw out both the C and D runners, because all the colors had been used (except for two pieces for the knees). With the small number of parts, this kit was a fairly simple build. You can really take your time with it, but it really is just an afternoon project. 


 Weapons/Manipulators


Here are all the weapons that come with the kit. 
From left to right/top to bottom: 
2x Foot daggers (see below left))
2x Heat Daggers 
2x Beam Sabers
1x Buster Gun
1x Beam Zanber 
2x Crossbone Gun/Sword both modes
2x Beam Sabers for Beam Saber/Beam Gun (see below right) 


You can combine the Buster Gun and the Beam Zanber to create the Zanbuster


Here are all the manipulators that come with the kit. 
2x Peace/Victory pose 
2x General Purpose 
2x Trigger Finger
1x Angled Wrist (for Zanbuster)

Size Comparison


Here is a shot of all the HGBF line that I own. The Crossbone is actually shorter than the shortest one I own, the Wing Gundam Fenice. It measures in at about 4.5" from the bottom of the foot to the top of the head, and about 5.75" to the top of the backpack. This is normal considering the height of the 
Crossbone X-1 is 15.9 meters and the Wing Gundam is 16.3

The GM Sniper II has a head height of 18 meters, the Strike Gundam and Kampfer, 17.7 which is why the Crossbone Maoh is about a head shorter than all of these guys. 
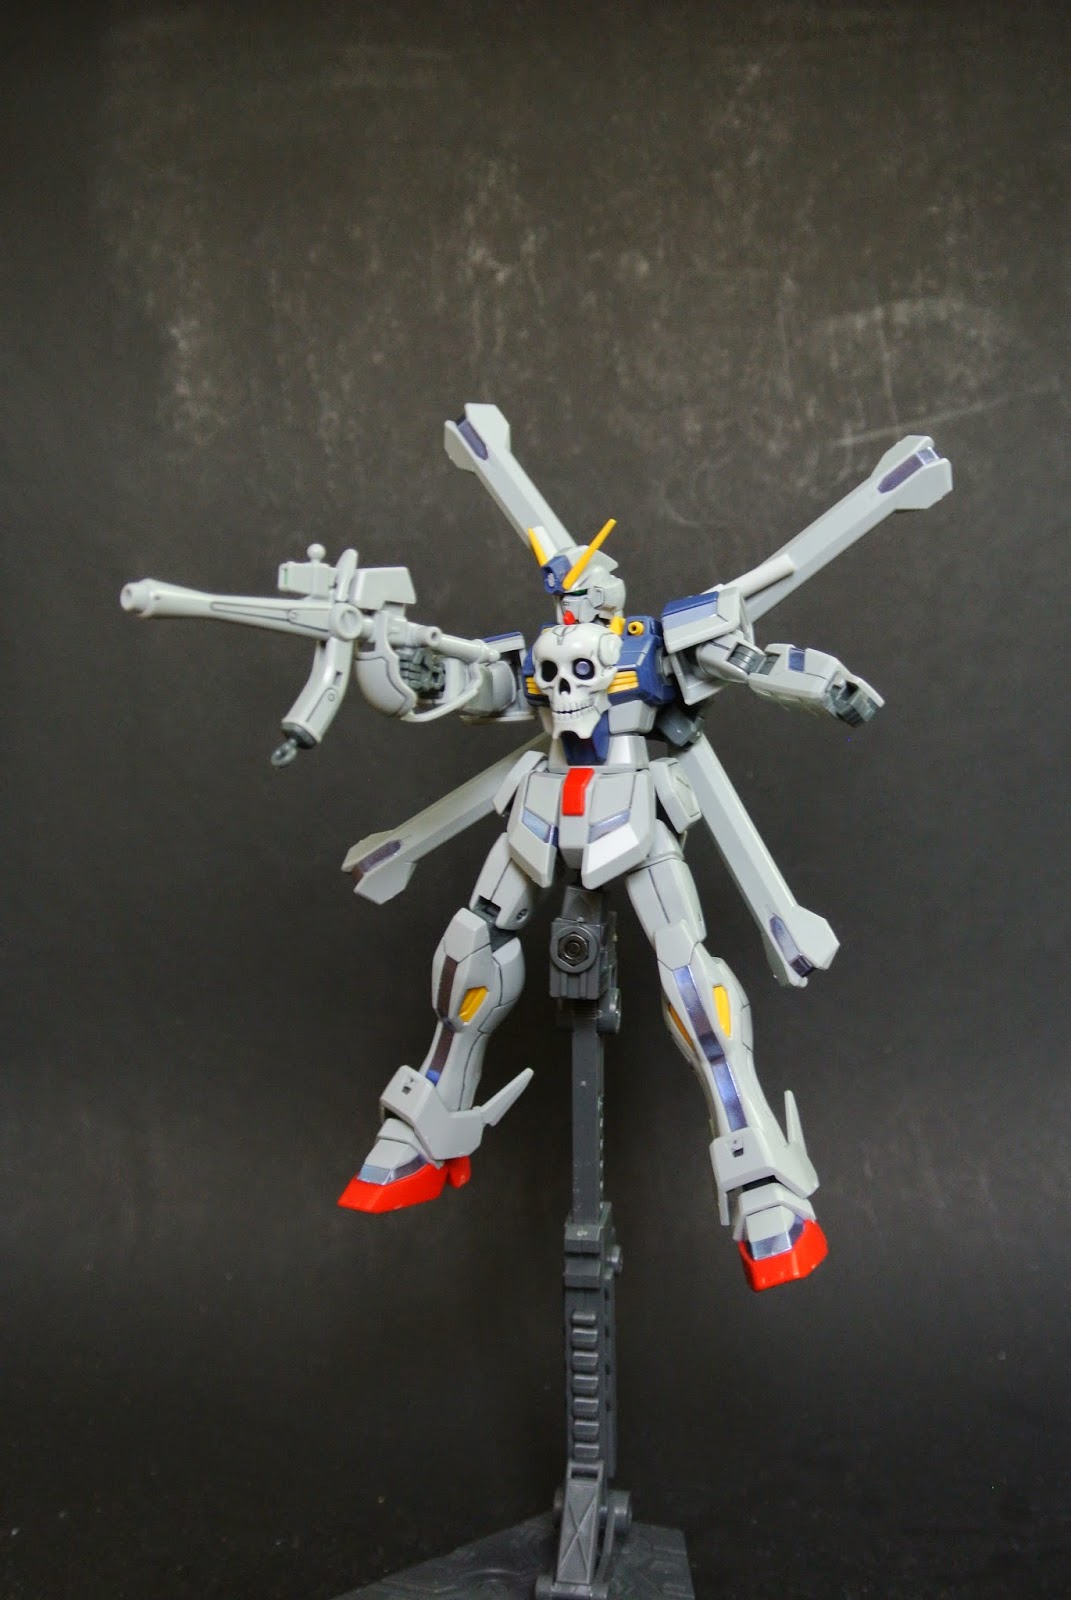
 Articulation


The Crossbone Maoh has double-jointed arms and legs, which means you can bend at either the forearm or the bicep end of the elbow joint, or the thigh end or shin end of the knee joint. It also has a separated ankle section, free from the shin/feet. The shoulder armor connects to the arm via polycap, and connects to the polycap in the chest via ball-joint. The head is on a double ball-joint. The legs connect to the waist via polycap. Overall the articulation is good. You can fully rotate the shoulders, if you avoid the backpack. You'll get a very good bend on the arms/legs via the double-joint. 

 Color/Quality


This kit is pretty plain when it comes to color. You're going to get two kinds of gray for the plastic: the darker gray for most of the body, and a lighter gray for the reflector mirror units on the backpack, and the skull satellite cannon. You're going to get a dark/navy blue for the chest/shoulder pieces, a little red for the feet, crotch piece, and chin, and finally yellow for vents across the body, the vulcans, and the v-fin. 
Besides the colored plastic, as you saw earlier, this kit comes with a ton of reflective seals that go across the body. These add more color dimension to a fairly plain kit. The reflector seals really makes it pop, and look much like its animated counterpart. Don't skip out on these seals, unless you plan on painting with something similar!

Though the color scheme is fairly plain, I really like it. Its not overly colorful, and its stark color combinations gives it a mean look. Apart from the color, this kit offers many panel lines for you to detail, which is great.

The quality of this kit is fairly decent for an HG. It follows the standard build, and isn't very flimsy or too heavy. I haven't had any problems with it standing upright, or on an action base. However, the only problem I had was with the mid-body connection. The top chest part tends to fall off the loose ball-joint located in the abdomen area. Besides that, the hands are great for holding the weapons, the arms and legs are sturdy, and the backpack isn't too heavy. 

 Pros and Cons


This kit has a lot going for it. It has a lot of weapons, various play/pose opportunities, and is fairly simple to build in and of itself. It's not too heavy, it can stand and also hold its weapons well. The colors might be plain, but work well for what the suit is supposed to look like. It offers a lot of detail for an HG kit, and looks great without a lot of effort. 

However, you can say that this kit is much too easy for you. You can also say that the colors are just too bland, and requires too many stickers to finish it off. It might have too many weapons and small parts that you won't use and have to find a place to store them. It has a lot of manipulators, but I can see myself not even using the Victory/Peace ones unless its for novelty, like playing rock paper scissors. Its also smaller than most HGBF kits. 


Scissors Cuts Paper. 


 Verdict


 In my own personal opinion, this kit is worth getting. I like the color scheme, and the accents that the reflector seals give. I also love the amount of poses I can create, and even though there are so many weapons/hands, having too many is better than having too few! It's an easy build that won't drive you crazy, and it won't break the bank. If you like the Crossbone Maoh or the Crossbone Gundams in general, this is a nice kit to add to your collection. It's also great for beginners just getting into the hobby. 
Now I wonder if they'll come out with an HG line for the Crossbone, or an anime...

Additional Comments/Photos


The backpack actually fits on the Fenice so you can create some funny kitbashes without too much effort. You can also take off the mirror reflectors from the pack. It connects via peg which may be compatible with other kits, (if its too short you can get the extension). You can also connect other packs to the Crossbone in the same way. 


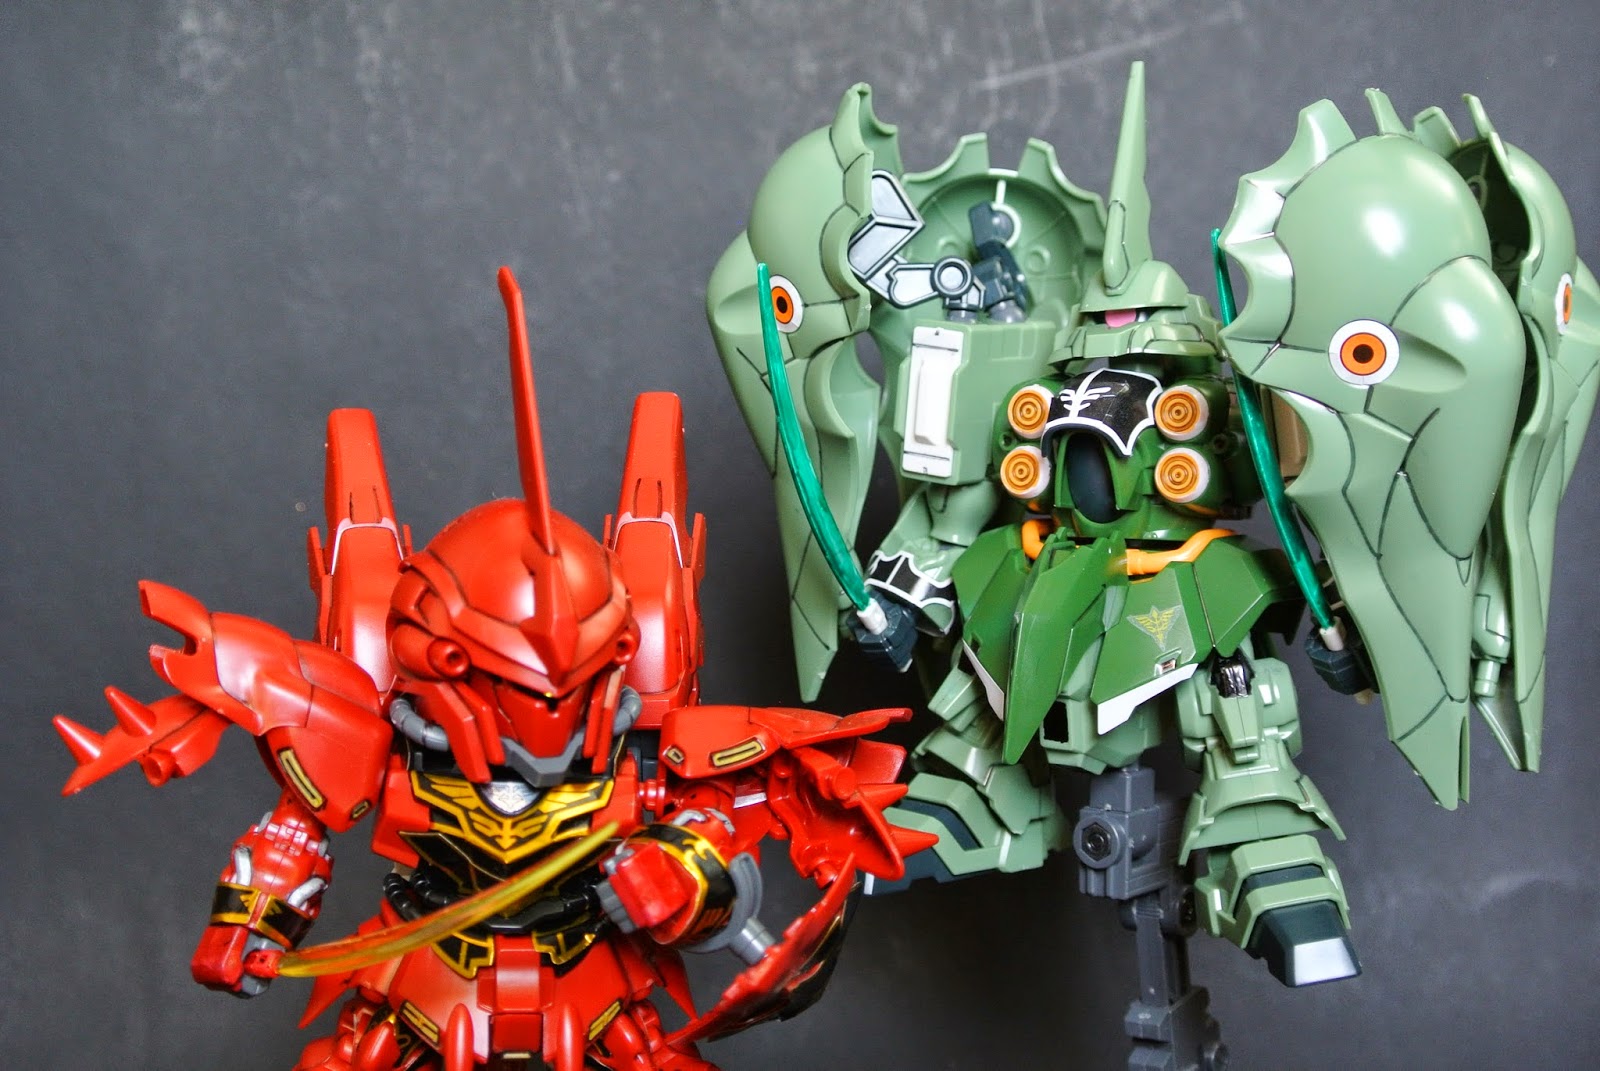
Crossbone Maoh with his mini-me counterparts X-1 and X-2.


Here boy! Want a bone!?

 Until next time!


Saturday, May 17, 2014

In Commemoration: SD Kshatriya

Hey Builders, 

As many of you may know, the great OVA saga for Gundam Unicorn came to an end today as the final episode: Over the Rainbow was released.


I decided to rent it on the Playstation Network and stream via my laptop connected to my biggest TV. Well worth it. Gundam Unicorn had long been one of my favorite series, though the novel ending left me a little disoriented. If you haven't watched SPOILER ALERT!!!the endings are different!

 The finale that I had long waited for has come and gone...The episode was great. If you had followed along through the whole OVA, this finale definitely does not disappoint. It had me feeling so many feels and it was filled with intense mobile suit action. 

In any case, today I have the SD Kshatriya for ya'll. Many fans of Gundam Unicorn love the design of the Kshatriya but so far there are only two releases, the HG 1/144, and the SD. I opted for the cheaper option, plus it looks great for an SD.

In honor of my personal favorite series, here are my thoughts on this kit.
I would've done something a little more cliche, like the Full Armor Unicorn but I don't have one of those yet... Gotta break up some of my backlog first!


This kit was fairly simple to build, with tons of detail to be added on. At first glance, you can tell you need to put in some TLC to get this guy looking good. The black chest piece right in the center is a foil sticker. It wrinkled on me when putting it over the round surface (the sticker itself is split into sections to be folded)

The circles on the binders are also stickers, but those can be easily painted. I don't have the appropriate colors to do so.


The beam sabers came in a plain white plastic, so I painted up the beam sections with a metallic green marker. I left the handles for now, because I'm not sure if I want to get a similar green to the Kshatriya to paint it. 


The four cannons on the chest are in all yellow plastic, and require using a thin white sticker that wraps around it. I wasn't too sure about that, so I painted it white. The front skirt also needs white stickers, as do the knees and the leg vents. I painted the leg sections, black for the knees, and white for the vents. 


All in all, it was a simple build, but putting in the extra effort made it a lot more fun. 
The wings were exceptionally fun to detail. Adding some panel lining really makes it pop. 


However, I found that it is pretty difficult to pose. The arms are actually two sections, that bend at the elbows, completely different from the SD Sinanju that I built recently. However the legs are just one piece, with polycap ball-joints that connect to the waist, and feet. The wings are a little cumbersome, though the suit does not experience weight issues. 

It is, however, difficult to get it into a cool pose. The wings are connected to the shoulders so when you rotate the shoulders/arms the wings move accordingly. The other thing is that the wings get in the way of the arm movement as well, and the beam sabers. 

The wings do, however come with the claws that can come out from beneath the wings. It doesn't have funnels though, which is a little disappointing.


Here he is with SD Sinanju posing together. The Sinanju looks a lot better, with that gold trim, and it even came with a clear piece for the beam saber/beam naginatas. 


Oh, did I mention the SD Kshatriya also comes with a Loto figurine? Its essentially a few pieces of plastic that you can piece together, and it goes from a standing position to its tread position if you fold its legs. 


Cute little guy, not sure if I'll paint him or what.


So there you have it. A cool looking behemoth with posing issues, lots of stickers, but no weight issues. Great to add to your Unicorn SD collection, and looks great just standing there. I advise putting in the extra effort to paint up some parts instead of using the stickers. 

What's next? Should I get the Unicorn, Banshee, and Neo Zeong to finish up my collection and reenact episode 7 in SD form?

Till next time!

Wednesday, May 7, 2014

MG 1/100 Gundam Astray Red Frame Kai (Painted Build)

Hey Builders, 
Welcome to GunplaWorks. Today I have a post on one of my bigger projects, the MG Gundam Astray Red Frame Kai, with a candy red paint job for the frame. As you may know, the Astray Gundam in all of its iterations are best known for their unique design, with an exposed inner frame. For this reason, many people love the design of the Astray. 

For those of you who might not use an airbrush, or think its too costly, this might be for you. Many people ask, is it possible to attain the same metallic red color by using spray cans? (the cheaper alternative). The short answer is Yes, but I will get into it a little more later. 


For this project I used Mr. Hobby Mr. Surfacer 1000, Tamiya Color Clear Red, Tamiya Color Gold Leaf, and Tamiya Color Gloss Black. The order I went in was Surfacer, then black, then gold, then clear red. I used about one can on average for each, so I still have some left of each color. 


I decided with the myriad of red parts, I would just go by the runners. Here is the black gloss over the surfacer. 


After, I coated the black pieces with the gold leaf. Be very careful, this part is very important. Make sure you coat all the sections of the piece that you need to be coated in red as well. If you leave some black sticking out, the gloss red will not look as good over it. 


The next part was to coat the gold pieces in the clear red. 


Its hard to see because of the lighting, but it came out pretty well. 


Painting on the runners calls for one drawback. It is hard to see all the sections of the pieces clearly, so you may have missed some sections when spraying. It is also difficult to get in all the nooks and crannies, while leaving a lot of risk for pooling through trying to get in closer in between parts. 

Painting Aside:
Here is where I will talk a little about the spray paint. Yes it is possible to achieve a candy coat of metallic red or whatever through the process of priming, black, (gold or chrome) and then a clear coat of what color you're using. In theory and in practice it works. However it leaves a lot of room for mistakes. I found a lot of  sections that I missed when I was painting, (left black, or left slightly gold). 

If you try to paint in this way, I suggest taking off the pieces, and taking your time making sure the coats are smooth and thorough. The other thing is, make sure you mask off the pieces that connect together, or you will have a hard time fitting pieces together. (I used a hobby knife to scrape off excess before putting pieces together). 

Finally, a small tip. What happens if you missed a section? You can't very well go out and spray clear red over again and start from scratch. It's too much of a hassle. Here's a little trick I used. I took a small plastic saucer (the kinds you might use at a fast food restaurant for your ketchup or sauces or whatever) and then covered it with plastic wrap (the kind you use to seal food) leaving some slack. Then I cut a small hole at the top, enough for the top of the spray can to fit, and then pushed the spray can with the plastic saucer so it would be contained inside, and then used a brush to brush whatever pieces needed to be touched up. This helped me fix a lot of my mistakes. 


Here is part of the torso being built


From the side. 


After awhile, this is my progress. The upper body pretty much finished. 


As you can see on the forearms, on your left, I did not coat enough gold, thus the red sat on top of the black, and is much darker. On your right, I didn't spray enough red, so the gold comes out more, making it lighter. I touched up both towards the end. 

Red on too much black is much more difficult to fix than just not enough red. Be careful when coating the gold!


Here is the inner frame on the leg


I love the design of the leg. The way you put it together really makes each section pop out. Having the frame and then putting the white armor pieces on top, and then putting more red pieces over the armor really gives for a unique design. 


Finished. Prior to building the weapons. I gave him a beam saber. 


Hey, that's not your big sword...


Borrowing from Shinn Asuka and his Sword Impulse


The swords are to die for. Here are the Tiger Pierce and Gerbera Straight


I painted the gold parts of the swords with the Tamiya Gold Leaf as well. You may find that if you build this kit, you won't like the "gold" that it comes in. It's very unattractive. 


Here he is with the Tactical Arms II L

Thoughts about this kit:

A few things to say. I really love the design of this kit. However, I would not have purchased it if I was not planning to give it a paint job. The red and gold that it comes in were not to my liking, and though the colors are accurate to the manga/anime art, I don't like it as much as the candy coat. I found that the red color molding that the plastic came in was much too bland. 
But you can feel free to disagree with me. 

This kit has amazing articulation. You can sort of see in the picture above this one, that he can do some pretty awesome slashing poses without a stand. He is also very sturdy (though I'm not sure if that's because the paint makes the pieces fit together that much more snugly)

The Tactical Arms II L looks amazing, however it is much too heavy for him to hold without a stand in Sword Form. Though the kit comes with a stand, so that is very helpful.
The Tactical Arms also changes form into Arrow, flight, V, and Delta, so the different poses you can achieve are just awesome. 

You can check out some of the photos HERE

 Until next time!